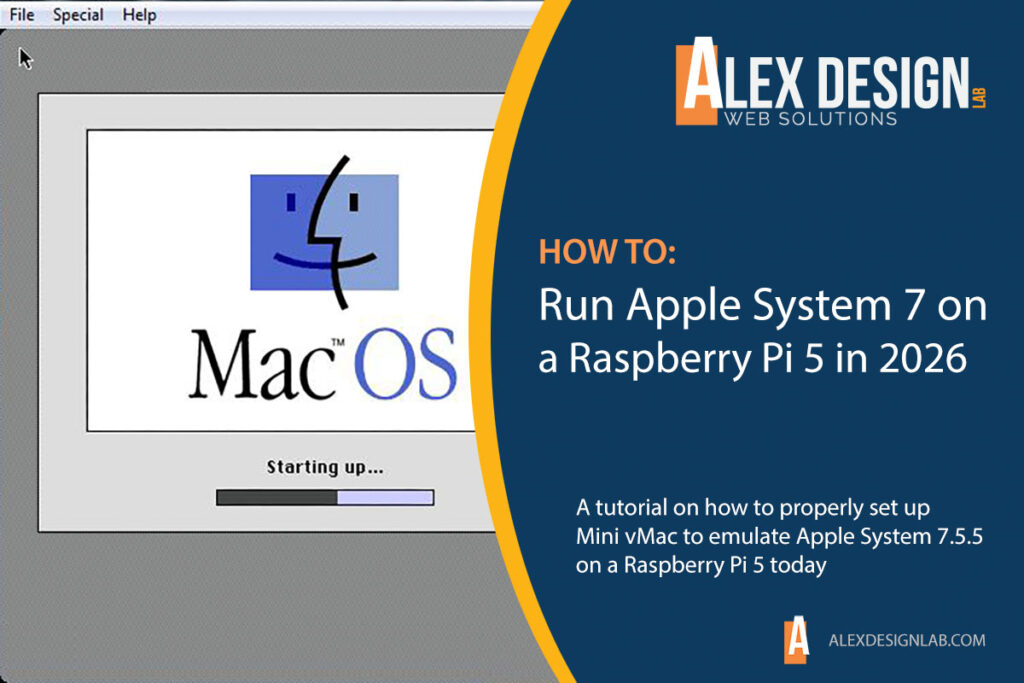

In 2026, setting up Mini vMac on a Raspberry Pi 5 requires a manual compilation approach. Pre-compiled 32-bit ARM binaries found on older sites, including gryphel.com, typically fail to run on the Pi 5’s 64-bit architecture (ARM64). Luckily, there is a way to do it and play your favourite games using the latest Raspberry Pi hardware and software. Follow the instructions below to set up your own system. This tutorial is for intermediate-level users, familiar with Terminal and how to run commands. You can also purchase the ready-made solution.
Step 1: Prepare the Host OS
Flash OS: Use Raspberry Pi Imager to install Raspberry Pi OS (64-bit) on your microSD card.
Once ready, insert your micro SD card in your Raspberry Pi 5 and power it on. Make sure the desktop is fully loaded and connected to the internet. First of all, we need to update the system. Open the Terminal, and run:
					sudo apt update && sudo apt upgrade -y
sudo apt install git gcc libsdl2-dev -y
Step 2: Compile Mini vMac for ARM64
To ensure compatibility with the Raspberry Pi 5’s hardware, you must compile from source using a setup tool.
2.1 Download Source: Clone the most recent maintained repository:
					git clone https://github.com/minivmac/minivmac.git
cd minivmac
2.2 Generate Makefile: Use the setup tool with flags specifically for 64-bit ARM Linux:
					gcc setup/tool.c -o setup_t
./setup_t -t larm -cpu a64 -m II -api sd2 -hres 800 -vres 600 -fullscreen 1 > setup.sh
2.3 Build:
					bash -x ./setup.sh
make clean
make -j $(nproc)
To make changes to the setup (screen resolution, etc) run: ./setup_t… command line in step 2.2 and go through the build phase afterwards.
Step 3: File Setup
ROM File: Obtain a Macintosh II ROM and rename it exactly to MacII.ROM. Place it in the same folder as the compiled binary.
Disk Image: Place your Mac OS 7 bootable disk image (e.g., disk1.dsk) in the same directory.
Your Mini vMac is ready. Click on minivmac to start it.
Step 4: Configure Autorun (Optional)
To launch Mini vMac automatically upon booting into the desktop:
4.1 Create Autostart Directory:
mkdir -p ~/.config/autostart
4.2 Create Desktop Entry:
~/.config/autostart/minivmac.desktop
4.3 Add Configuration:
					[Desktop Entry]
Type=Application
Name=Mini vMac
Exec=/home/pi/minivmac/minivmac /home/pi/minivmac/disk1.dsk
Terminal=false
4.4 Save and Exit: (Ctrl+O, Enter, Ctrl+X)
Step 5: Removing Splash and Logos at the BOOT Screen (Optional)
5.1 Removing splash screen (Logo)
Go to Menu / Preferences / Control Centre and navigate to System
- Console Auto Login: YES
- Desktop Auto Login: YES
- Splash Screen: NO
5.2 Removing 4 logos on top of the screen
sudo nano /boot/firmware/cmdline.txt
Add at the end of the line (on the same line):
quiet loglevel=3 logo.nologo vt.global_cursor_default=0
5.3 Removing the rainbow splash screen
sudo nano /boot/firmware/config.txt
Add at the very bottom on a new line:
disable_splash=1
Key Performance Tips for 2026
- Emulated Speed: Unlike Basilisk II, Mini vMac by default emulates at original hardware speed. To speed it up, press Ctrl+M (Magnify) or use the -speed z flag during compilation.
- Exiting: To quit the emulator, press Ctrl+H to bring up the menu, then Q to quit.
- Resolution: Because the Pi 5 handles high resolutions easily, you can re-compile with -hres 1024 -vres 768 for a larger “Macintosh II” workspace.
Ready-made Solution
If you’re uncomfortable using Terminal or don’t want to spend your time on this, consider purchasing a ready-made solution: